
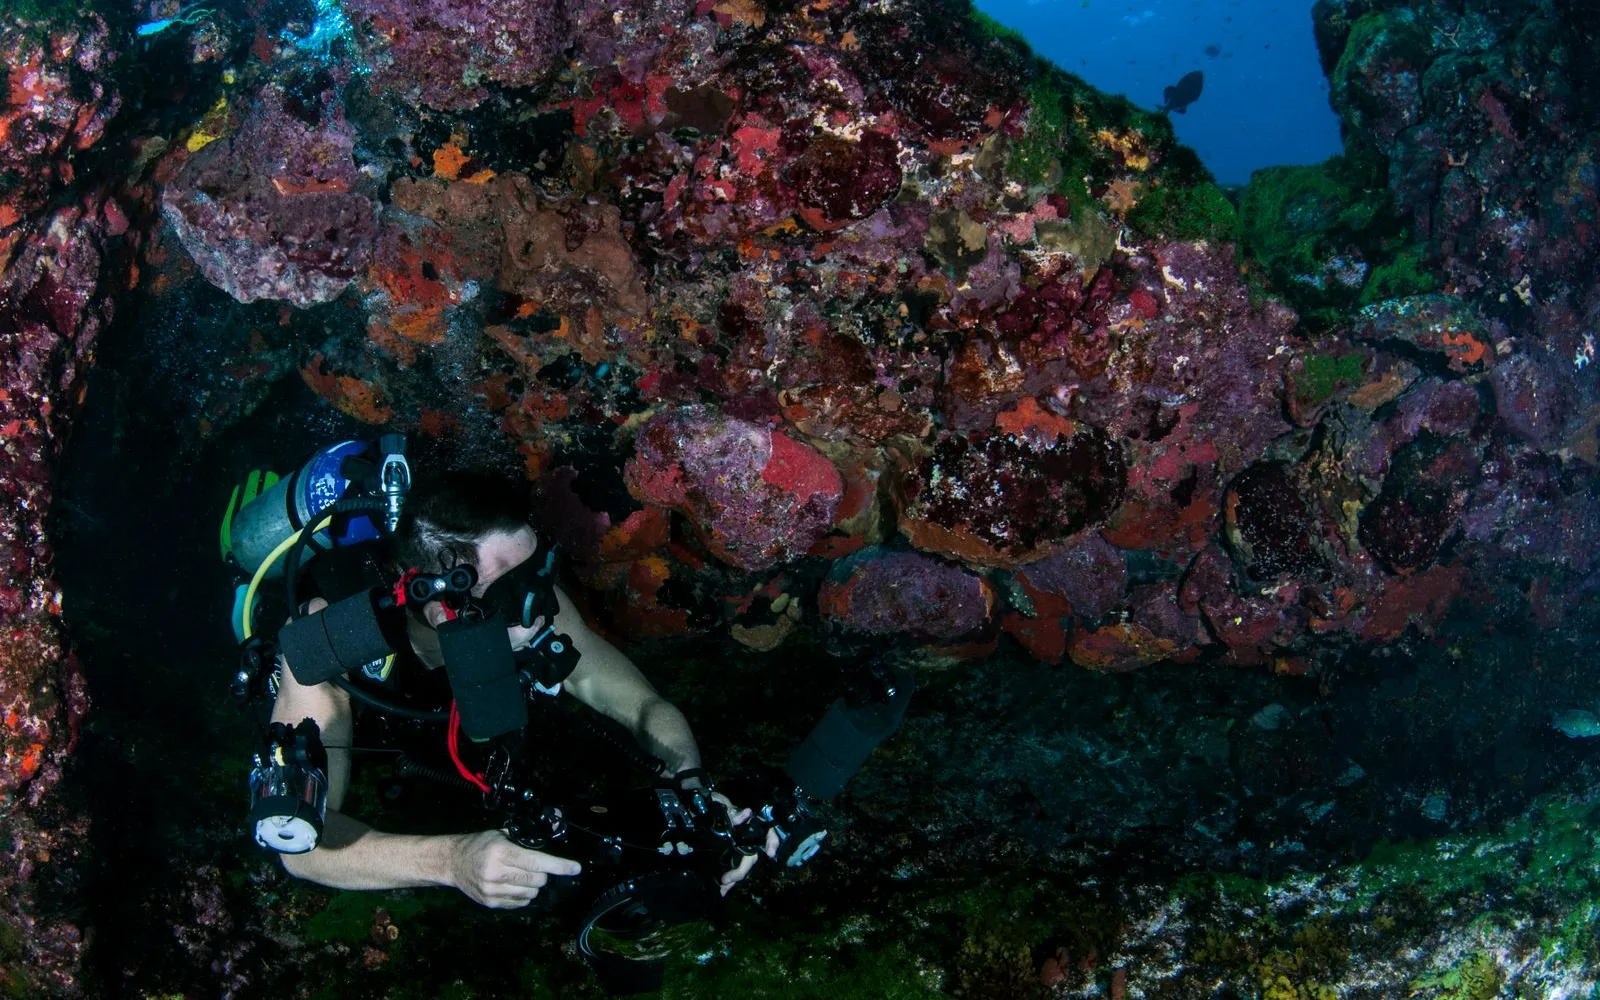
You get home from a week of diving or snorkeling in the Red Sea, open your photos, and everything is blue. The reef that glowed orange and yellow in front of your mask looks flat and grey-blue on the screen. Nothing was wrong with your camera. This is physics, and it happens to everyone, from phone snaps to professional housings.
Here is why it happens, and how to undo it in a few seconds.
Water eats color, starting with red
Sunlight looks white but it is really a mix of every color. Water absorbs those colors at different rates, and it takes red out first. By about 5 metres down, red is almost gone. That is why a red anthias or a red soft coral photographs brown-grey once you are past snorkel depth. Orange goes next, around 10 metres. Yellow fades by roughly 20 metres. Blue and green penetrate the deepest, so they are what is left, and that is the cast every underwater photo ends up wearing.
The deeper you were, and the further the light had to travel through water to reach your subject, the stronger the blue. A shallow snorkel photo in bright sun needs only a small fix. A photo at 18 metres on a wreck needs a lot more.
Why 'just add warmth' does not work
The obvious move is to grab the warmth or temperature slider and crank it. It never looks right. The reason is that once red has been absorbed, there is almost no red information left in the file to boost. Push the slider and you are amplifying noise, not color, so the photo goes muddy and grainy instead of vivid.
The fix that actually works rebuilds the red channel from the green and blue information that did survive, then stretches each color channel back out to restore contrast. It is closer to reconstruction than to a simple slider. The paid dive apps, like the popular ones you may have seen people using on the boat, all do a version of this.
Fix them free, right in your browser
We built a tool that does exactly that and put it on the site for free: the Photo fix tool. Drop in a JPG or PNG from your trip and it reads the color cast, rebuilds the reds, protects the open water so it stays blue instead of turning pink, and shows you a before and after you can drag to compare. Five sliders let you tune strength, warmth, brightness, contrast, and color if the automatic result is not quite there.
Two things are worth knowing. First, it runs entirely in your browser, on your own phone or laptop. Your photos are never uploaded to a server, so it works on slow hotel wifi and your images stay private. Second, if it says it cannot open your photo, you are probably on an iPhone. iPhones save in a format called HEIC that browsers cannot read. Open the photo on the phone, tap share, choose Save as JPG, then upload that.
A few tips for better underwater photos next time
Correcting afterwards is great, but you have more to work with if the original is better.
Get closer. The less water between your lens and the subject, the less color the water can steal. Fill the frame instead of zooming.
Shoot shallower when you can. The top 5 metres keep the most color. A lot of the best reef photography happens in waist-to-chest-deep water on the reef top, not down deep.
Keep the sun behind you. Front-lit subjects hold their color far better than ones shot into the light.
A cheap red filter or a video light helps, but neither can restore color the water already removed. They help at the moment you shoot; the tool helps with everything you already shot.
Want photos you do not have to fix?
On our Hurghada boat dives the guide can shoot photos and video of you underwater and hand them over already color-corrected, so the memory looks like the dive actually did. If you would rather come home with shots worth keeping and skip the editing entirely, just ask when you book.
Either way, dig out those blue photos from your last trip and run them through the Photo fix tool. It is oddly satisfying to watch the reef go from grey-blue back to the color you remember.